

In this series of articles, we're going to look at the capabilities of the Android Things platform. We're going to start by installing it on a Raspberry Pi and then we're going to leverage the Firebase Database to remotely control a led on the Raspberry Pi from another Android phone.
This first article is going to cover an overview of the platform and the installation procedure. At the end of the article we should have a Raspberry Pi 3 running Android Things.
The code for this series of articles is available on GitHub. Be sure to check the second part of this article, where we implement a single app that controls a LED.
What is the Android Things platform?
The Android Things platform is an operating system from Google intended to be used on IoT devices. It is in essence a version of Android that can run on a variety of platforms (such as Raspberry Pi 3 or Intel Edison). This is the second attempt from Google to propose such a system, the first (largely failed) being launched at the end of 2015 under the name of Brillo.
It is targeted towards more powerful IoT devices, offering the ability to integrate a variety of powerful Android libraries and services. It allows developers to focus more on the application part of the stack and not on building custom kernels for their hardware.
One of the selling points of the platform is the ability to develop apps for Android Things using the same toolchain and libraries as for Android phone apps. Android developers will feel right at home leveraging the now quite mature Android Studio IDE and robust libraries such as Retrofit2 or Firebase Database.
Another selling point is the promise that updates to the platform can be pushed over-the-air through Google's infrastructure.
I/O APIs
In addition to the normal Android API, the Android Things offers a few APIs that are aimed at communicating with custom hardware that may be present:
Peripheral I/O API
The Peripheral I/O APIs let your apps communicate with sensors and actuators using industry standard protocols and interfaces. The following interfaces are supported: GPIO, PWM, I2C, SPI, UART.
See the official Peripheral I/O API Guides for more information on how to use the APIs.
User Driver API
User drivers extend existing Android framework services and allow apps to inject hardware events into the framework that other apps can access using the standard Android APIs.
See the User Driver API Guides for more information on how to use the APIs.
Missing APIs
While most of the normal Android API is there, there are a few things that are missing:
Common intents are not supported
'Content' APIs are not supported:
CalendarContract
ContactsContract
DocumentsContract
DownloadManager
MediaStore
Settings
Telephony
UserDictionary
VoicemailContract
Displays are optional. Although you can create UIs using the exact same APIs that you use for phones, a display is no longer required.
Notifications are not supported.
Permissions are always granted without any user input.
Only a subset of the Google Services are supported. As a general rule, APIs that require user input or authentication credentials aren't available to apps. The following table breaks down API support in Android Things:
Supported Hardware
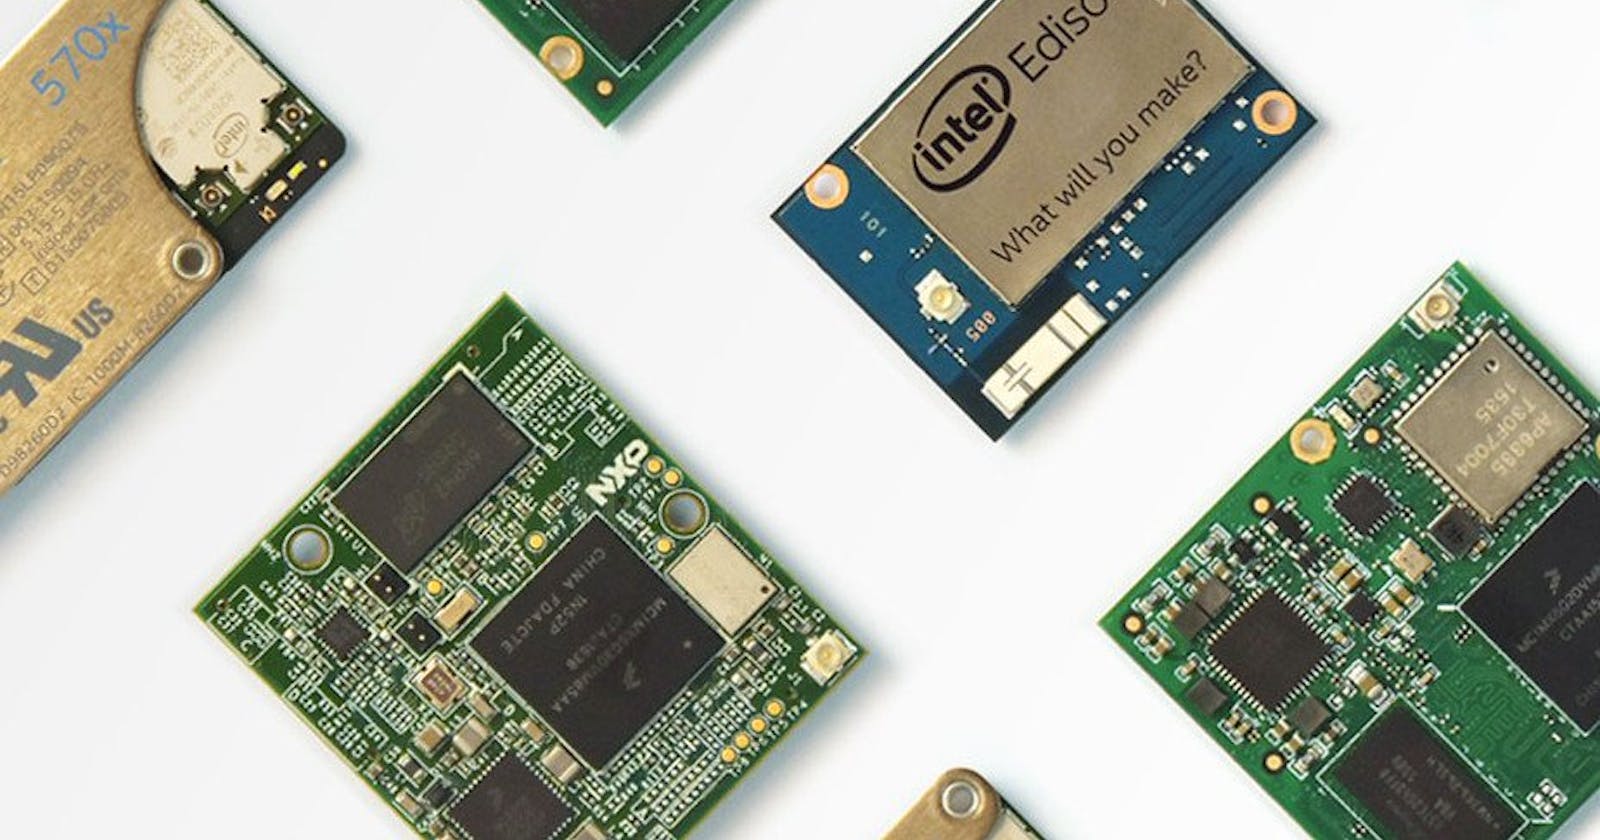
At the time of this writing (Feb 2017), 3 platforms are currently supported, with two more announced:
Intel® Joule™ 570x (announced)
NXP Argon i.MX6UL (announced)
Installing Android things
We will use the following hardware for this article:
Raspberry Pi 3 (with USB cable and charger)
Micro SD card (with adapter)
Ethernet patch cable (note: required until WiFi is setup)
1 LED
Monitor and HDMI cable (optional, but quite useful)
Booting Android things on the Raspberry Pi
The steps below are detailed in the official guide. This is just a summary:
- Download the Raspberry .img file from this link https://developer.android.com/things/preview/download.html.
Note: If you're on a Mac and can't unzip the archive, use The Unarchiver.
Follow the official Raspberry guide to install the image onto the SD card.
Insert the SD card into the appropriate slot. Connect the Ethernet cable, HDMI cable and lastly the power to the Raspberry Pi.
Connect the LED between pins 6 and 7 on the board, making sure the correct LED wire connects to
Ground. Refer to this diagram:
Note: If you're having trouble determining which LED connect is the
Groundone, first connect it between pins 2 and 6. If the LED does not light up, then switch the connections between them. Once the LED lights up, just move the connection from pin 1 to pin 7.
- Use the monitor to determine when the device has booted up. You should see the device's IP address. Make note of it.
Note: If not using the monitor, you can try using
Android.localinstead of the IP address for the next commands (might work, depending on your network configuration). If that doesn't work, you need a monitor.
- Connect
adbto the device with the command:
$ adb connect <ip-address>
connected to <ip-address>:5555
Connecting to WiFi
You are now ready to go, however, you may wish to setup WiFi so that you are not limited by the Ethernet cable. Please note you may not be able to connect to a work network that requires a more complex authentication scheme, but a home network (that only requires a passphrase) works just fine. To configure the WiFi parameters, follow the steps below. Once WiFi is configured, you do not need to do this again.
Send an intent to the Wi-Fi service that includes the SSID and passcode of your local network:
 $ adb shell am startservice

 -n com.google.wifisetup/.WifiSetupService

 -a WifiSetupService.Connect

 -e ssid {Network_SSID}

 -e passphrase {Network_Passcode}
Note: You can remove the passphrase argument if your network doesn't require a passcode.
Verify that the connection was successful through logcat:
 $ adb logcat -d | grep Wifi
 ...
 V WifiWatcher: Network state changed to CONNECTED
 V WifiWatcher: SSID changed: ...
 I WifiConfigurator: Successfully connected to ...
Test that you can access a remote IP address:
$ adb shell ping 8.8.8.8
PING 8.8.8.8 (8.8.8.8) 56(84) bytes of data.
64 bytes from 8.8.8.8: icmp_seq=1 ttl=57 time=6.67 ms
64 bytes from 8.8.8.8: icmp_seq=2 ttl=57 time=55.5 ms
64 bytes from 8.8.8.8: icmp_seq=3 ttl=57 time=23.0 ms
64 bytes from 8.8.8.8: icmp_seq=4 ttl=57 time=245 ms
Conclusion
We now have a fully functional Android instance running on a Raspberry Pi. We are now ready to start writing applications for it. Be sure to check the second part of this article, where we implement a single app that controls a LED.